Applying Shadows Using Paint.NET
by Rick Hargraves (aka, thegrindre)
Originally posted at http://www.geocities.com/thegrindre/ (now defunct)
Hi,
Thought I'd share another one of my basic, hands on, do it as I do it, tutorials for the beginner.
This one will be using Paint.NET and should help you with applying shadows to your models... Hopefully.
What we're going to do is add some shadow to a rather bland looking textured model. The process is kind of complicated so, you will have to follow my instructions exactly to the letter if you want it to work properly for you. I don't want to drag this thing out in a highly sophisticated complicated way so, I'll try to keep it as short as I can and to the point.
Ready? Here goes...
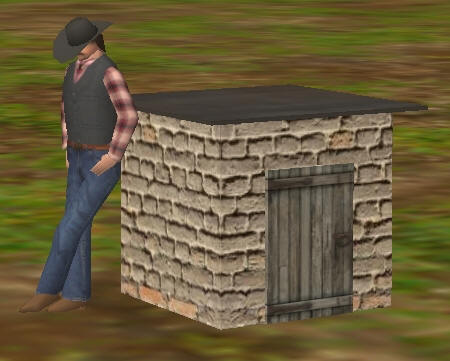
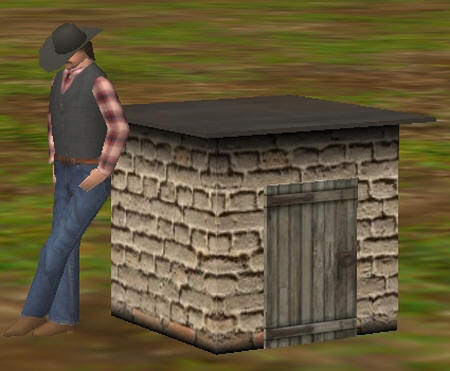
This is your basic 4x4x5 foot Pump House before any shadows are added to the textures.
I've used a simple tar type texture I found on the Internet for the roof.
I've used a nice brick texture I also found on the Internet.
I've used this old door texture I found there, too.
Now, let's add a little 'body' to this pump house and see what happens.
You're going to need a free application called, Paint.NET and install it on your computer to follow the
rest of this tutorial.
Here's a working link as of the writing of this tutorial: http://www.getpaint.net/
Let's do it...
Right click on the texture you're going to work on then click, Open With, Paint.NET.
It should look something like this:
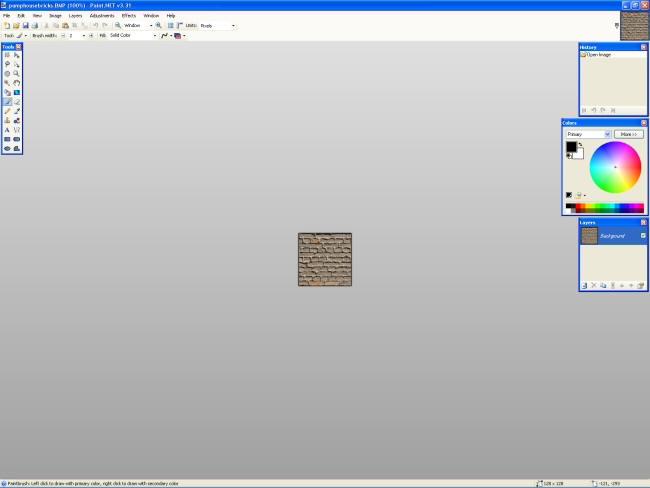
Opening your texture this way is usually the best way for this type of work. It will save you a step or
two once you get your texture into Paint.NET.
Those four smaller boxes, (windows), can easily be moved around with your mouse pointer in their title
bar. Just like Windows.
Let's take a look at the top of Paint.NET's tool bar area:

Paint.NET has a slight learning curve especially if you're used to something a lot easier such as, MS
Paint. Paint.NET requires you to do everything manually, one step at a time and, right below the letter
'S' in the word, Layers, is your Deselect Button. This button is your best friend. You'll use it almost
every time you perform an operation with Paint.NET. I'm going to rename it to, DSB for an easier
understanding throughout this and all future tutorials. Paint.NET doesn't really have any defaults to
fall back on, so to speak so, your DSB will be used a lot.
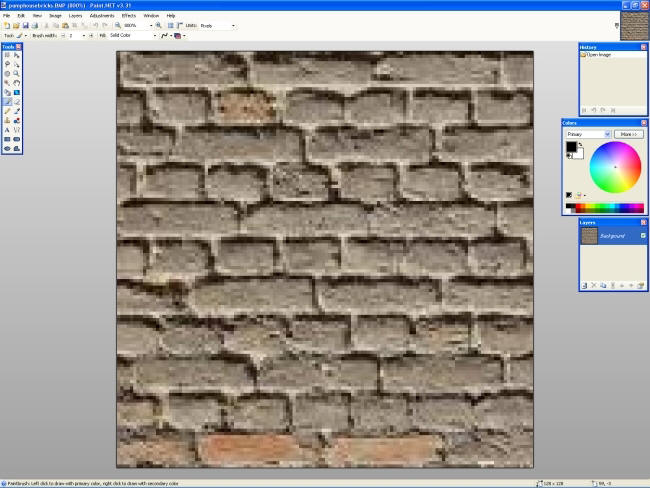
OK, let's blow this texture up so we can see it better and apply our shadow. Click on the little plus
magnifier thingy right under the word, Window. Seven clicks took my texture up to 800% and filled my
window nicely.
The next steps are a little tricky so, follow along closely. We're going to put a shadow under the roof
and it must be done in the following order:
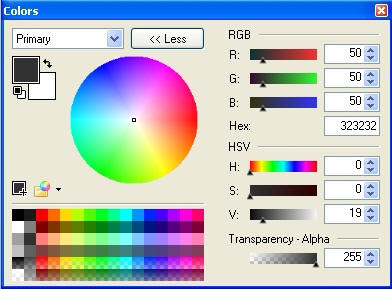
One. Go to your Colors window and click on, More >>. Enter a shade of gray in the top three boxes
then click, << Less, like this. (DON'T use the color black.):
Two. Go to your Layers window and click on the little '+' button thingy to open a layer.
Three. Double click on the new layer, (the checker board box), to open its properties window.
Four. Click the drop down arrow and select, Multiply, then click, OK.
We are now set up to apply the roof shadow and we're going to do it on this layer just in case we mess things up. You can always delete a layer and start all over again if things go wrong without messing up your original texture or, you can go back a few steps instead.
Now, go to your little Tools window and click on the Rectangular Select button, (Top left square do-dad.), and drag a box from left to right about 2 ½ bricks thick.
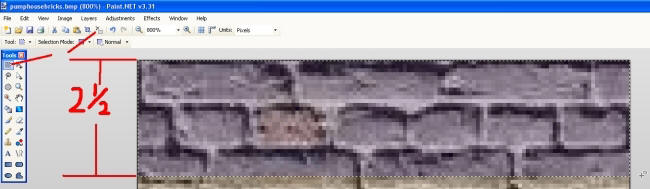
Also, notice that your DSB has now been activated and you're going to use it in just a second.
Jump down to the Gradient gizmo and click it.
Now, you've defined an area that you're going to put the shadow in so, move your pointer to the center
top of this box area then click and drag the shadow straight downward those 2 ½ bricks. Release your
mouse button and, Bingo, you've just made a roof shadow.
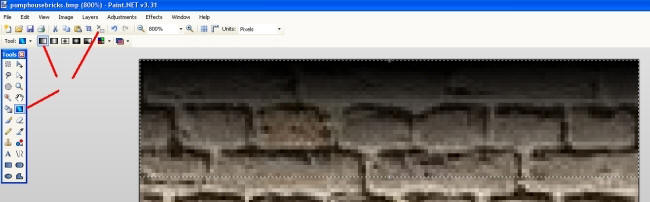
To see your newly found achievement, hit your DSB. It should look like this:
If you don't like what you've done or messed it up, use those funny looking arrows on the top tool bar or the ones in your little History window to back up a few steps if need be. They're the ones that look like they are doing a left or right hand flip. The left one is for reversing your work while the right one is for redoing what you've already done.
We're not finished, yet. We've got to move this layer down onto our original texture then save it to be able to admire our work in the game.
Let's do that. Jump back to your little Layers window and click on the MIDDLE black Merge Layer Down button arrow to merge this top layer into your original texture.
Now, go to, File, Save As, and save it to the proper format but, don't shut down Paint.NET yet, just minimize it out of your way for now. You may not like what you've done and while Paint.NET is still open, you can reverse anything you've done to correct anything you don't like then, resave it to check things out again. Paint.NET is cool that way.
OK, go check out your work. I'll wait here till you get back...
---------
Are you back? Good.
Again, if you don't like it, just reverse your work with those funny looking arrows or delete the layer and start all over again.
Let's do a little more. Let's do the bottom, too. Open a new layer, set the properties to Multiply, click the top left square do-dad, define the bottom area of your texture, click the Gradient gizmo, then drag your shadow upwards this time. Save your work and go check it out.
Here's mine:
Yup, you can even do the door with a little trial and error. That's what's great about Paint.NET, just back up and add or change more if you want to.
The downloadable version of this tutorial will give you my three textures to work with if you need 'em.
Have fun!
If you'd like to download this tutorial in Acrobat format, click HERE (745KB)!