Using the Gizmo in GMAX
by Curtis Reid
Originally posted at TrainzProRoutes
This tutorial (attempts to) explain the use of the
Gizmo to help align textures to faces in GMAX.
We'll start with the roof to a freight depot:
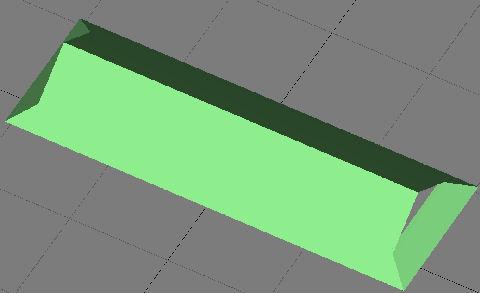
First, break the image apart by flat faces. In this
case, 4 parts - one for each side of the roof.
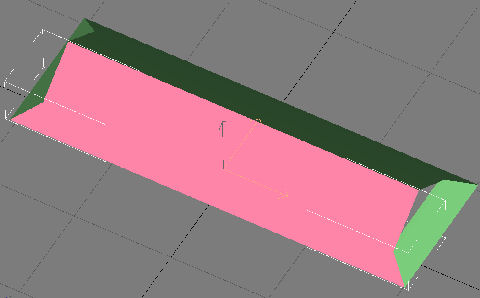
(You can toggle the highlighting of selected faces in
the viewport configuration menu)
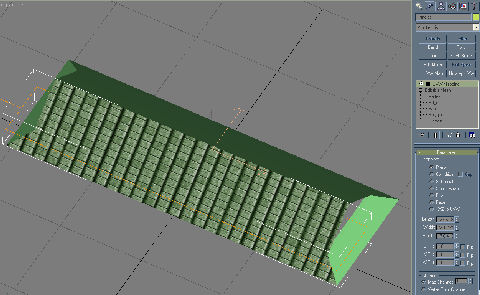
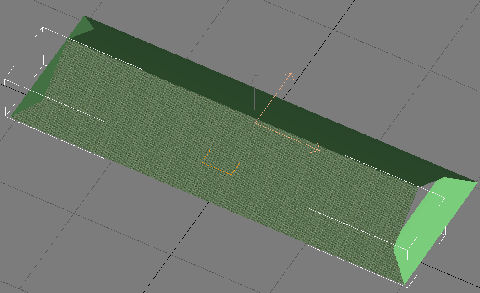
Next, pick one of your roof pieces, assign your texture to it, and add a
UVWMap modifier. You can see the shingles are facing the wrong way and are
the incorrect size.
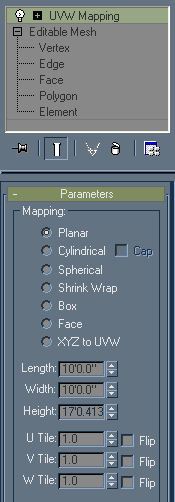
First, lets adjust the size. Leaving the mapping set
to planar, enter a value for the Length and Width that gives you the proper
size. I picked 10', but that will depend on the texture you use.
Here's the result on the model:
Next, we're going to adjust the orientation of the
texture using the gizmo. That's the yellow box shown below:
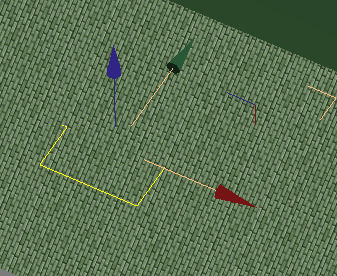
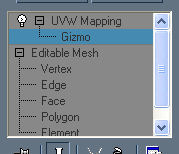
To access this, click the (+) next to the UVWMap
modifier on your stack:
When you select the gizmo so that it turns blue
(above) you can them move / rotate it as if it were a separate part; by
using the move and rotate tools. Rotate the gizmo 90 degrees, so that the
shingles are now going the proper direction. You can also rotate the gizmo
so that it is laying flat against the roof; this will get rid of the
'squashed' effect.

And, thats all there is to it! In this case, my
shingles ended up a bit small; changing the length and width to 15' makes it
look a little better.