Using the GMAX UVW Map modifier to consolidate textures
by Curtis Reid
Originally posted at TrainzProRoutes
According to the developers of Trainz, the TRS engine runs better with fewer numbers of textures. The
trick is, once you've combined your textures, how do you
map the texture to the model, so that everything is aligned correctly?
This will show how to do use the Unwrap UVW modifier to accomplish this.
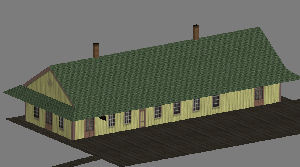
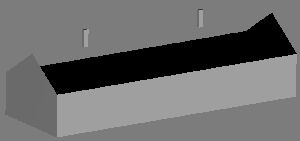
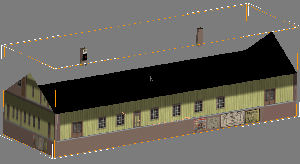
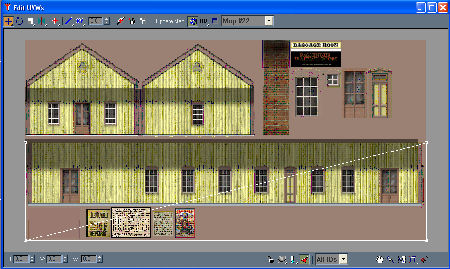
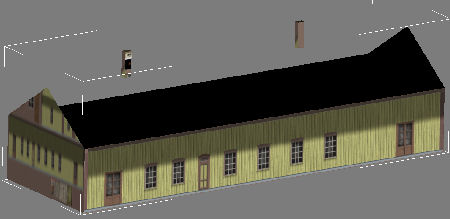
First, our victim: A low-poly passenger depot:
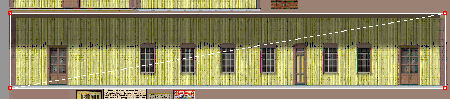
And, the texture to be used:
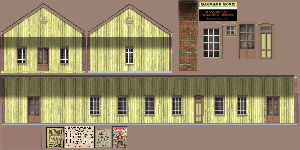
Note that the roof and platform use separate tiled textures, but the windows
and doors have been combined on this texture.
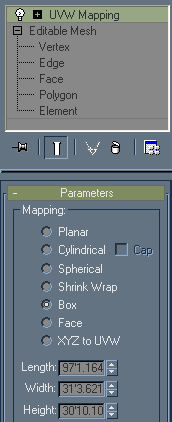
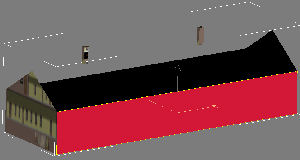
Step 1. add a UVWmap modifier to the walls. Choose 'box' as the mapping
parameter. Leave the length, width, and height parameters at default; they
don't really matter at this stage.
Apply the texture to the model
Note that it looks a little odd; it doesn't really line up the way it
should.
So, to fix that, we'll add an Unwrap UVW modifier to our stack.
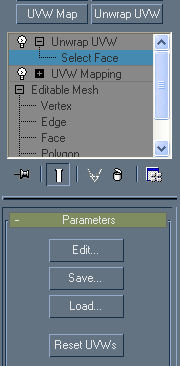
Expand the modifier by clicking the (+) to the left. Then, click on 'Select
Face'. It should be highlighted as above. Note the edit button in the
parameters section; we'll use that next.
Select one of the sides of the model,
and click the 'EDIT' button.
This will open a new window with a low-resolution version of your texture
and a bunch of white lines.
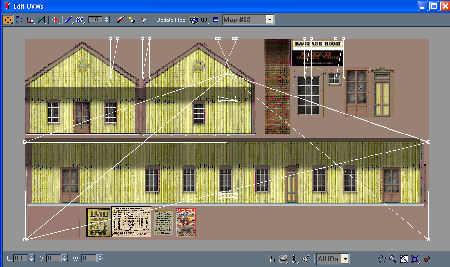
The white lines show how the polygons will line up on the texture. Right
now, we only care about the polygon we selected previously, so find the
triangle icon on the bottom center of the window. Click that (it will turn
red) and most of the white lines will disappear. All that is left is the
outline of the polygon we selected previously.
Select the vertices, and move them on the texture map so that the white
outline matches the outline of the wall on the texture. One hint; if you
hold down <shift> while moving a vertice, it will only move in one
direction.
Close this window, deselect the polygons in the main window, and your first
side should be complete.
Repeat for the other faces that need mapping, and your model is complete!